Prepare the shell
Trim the arches and the rear with curved scissors, drill the body post holes, then wash the inside with warm water and a little dish soap to remove the mold release. Dry it without touching the inside surface. Leave the protective film on the outside until the very end.
Mask the windows from the inside with the supplied masks or tape, and burnish the edges down hard. Paint creeps under a lazy mask every single time.
Color order is backwards
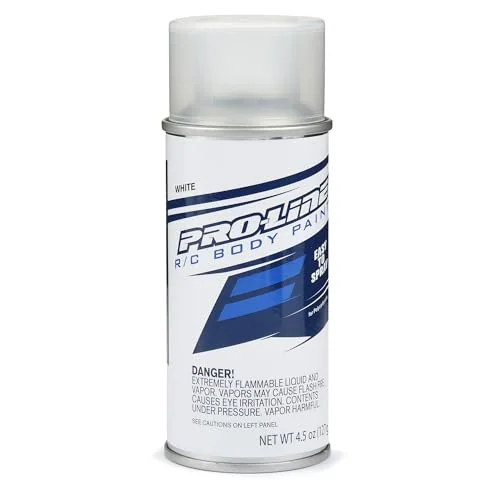
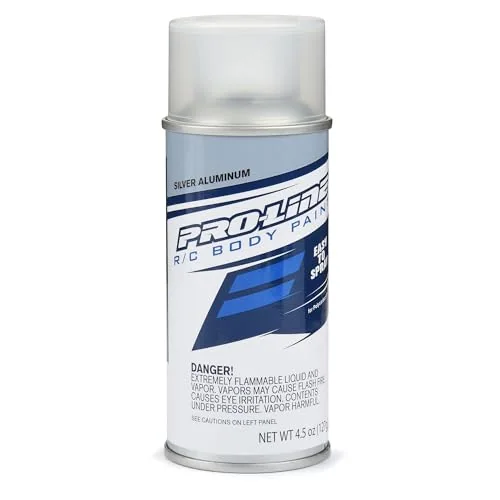
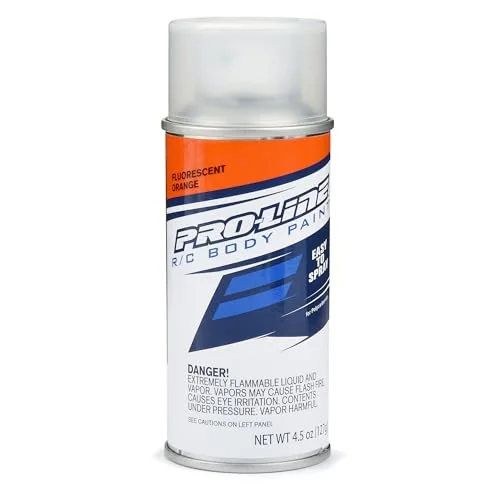
Spray the detail colors first — the stripe, the number panel, the dark accents — and mask each one off once it has flashed. Then the main color. Then, last, the backer: white, silver or black. The backer is what makes everything above it opaque and even.
Two or three light passes per color. A heavy pass runs, and a run on the inside of a clear body cannot be sanded out without removing the whole layer.
Candy, pearl and metallic
Candy colors are transparent. They need a reflective backer right behind them: silver for a deep automotive look, white for a brighter, more vivid one. Pearls want white. Metallics have flake in them already and sit happily over black.
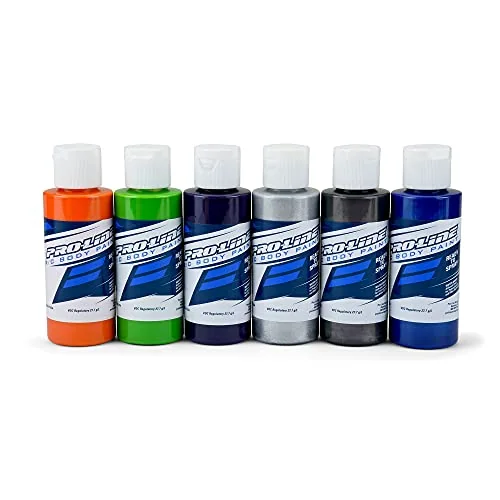
If you are fading two colors into each other, do it with the airbrush at low pressure and build the overlap in several passes rather than trying to blend wet.
Finish and fit
Peel the outside film, fit the decals you want, then the window masks come off from the inside. Add body clips and, if the shell will be landed on, washers behind the post holes.
Keep the leftover color. A can and a bottle of the same Pro-Line color match, so a repair in a year's time will not show.